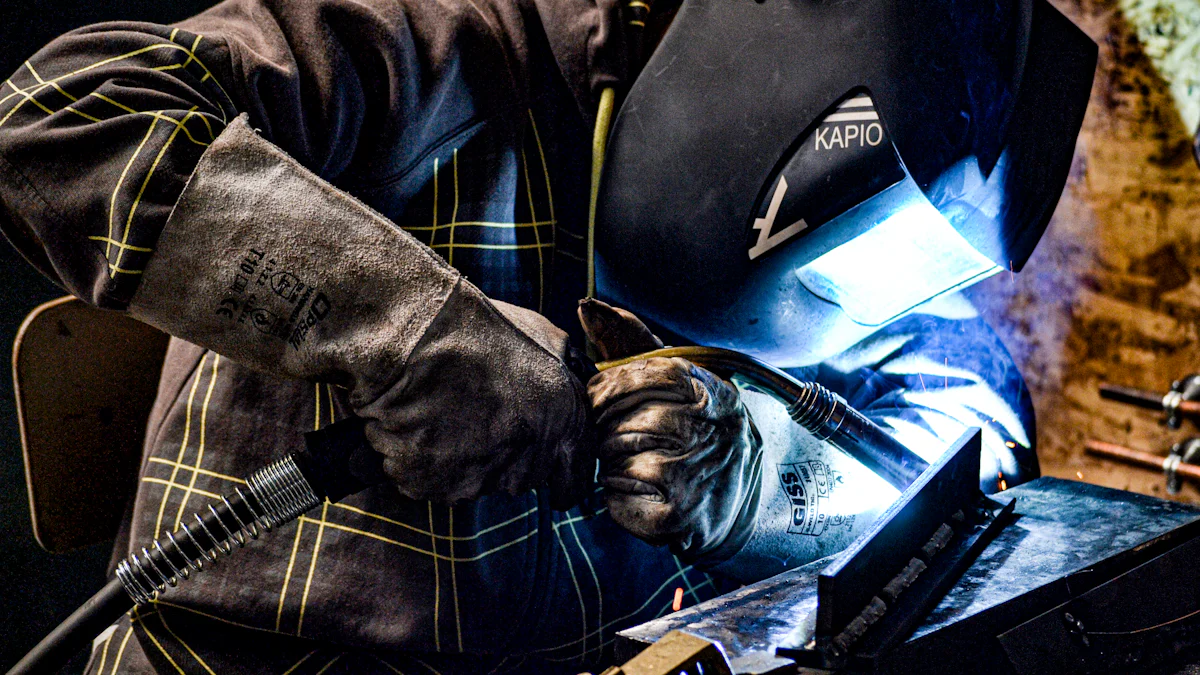
Welding requires precision and safety. Your auto-darkening welding helmet protects your eyes from harmful light while allowing you to see clearly. Before starting, ensure you know how to set it up and use it correctly. For more details, visit https://www.tynoweld.com/auto-darkening-welding-helmet/. Mastering this tool ensures both safety and efficiency.
Key Takeaways
- Look at your helmet before using it. Check for marks, clean the sensors, and tighten the headgear for safety.
- Make the headgear fit well. A good fit stops slipping and keeps your eyes safe while welding.
- Try the auto-darkening feature first. Make sure the lens darkens fast when light flashes to guard your eyes.
Setting Up Your Auto-Darkening Welding Helmet

Inspecting the Helmet Before Use
Before using your auto-darkening welding helmet, inspect it thoroughly. Check the lens for scratches or cracks that could obstruct your vision. Examine the sensors to ensure they are clean and free of debris. Damaged sensors may fail to detect light changes, putting your eyes at risk. Look for loose or broken parts on the headgear. Tighten any screws or straps that seem unstable. A quick inspection ensures your helmet functions properly and keeps you safe.
Tip: Always inspect your helmet in a well-lit area to spot any issues easily.
Adjusting the Headgear for a Secure Fit
A secure fit is essential for comfort and protection. Place the helmet on your head and adjust the straps until it feels snug but not tight. Use the adjustment knobs to position the helmet so it sits comfortably on your forehead. Ensure the helmet stays in place when you move your head. Properly adjusted headgear prevents the helmet from slipping during welding, keeping your eyes shielded at all times.
Note: If the headgear feels uncomfortable, try repositioning the straps or padding for a better fit.
Configuring the Lens Shade Level
The lens shade level determines how much light the helmet blocks. Most auto-darkening welding helmets have a dial or control for this setting. Choose a shade level based on the type of welding you plan to do. For example, MIG and TIG welding often require higher shade levels. Adjust the setting until the lens darkens enough to protect your eyes without making it too hard to see your work. Testing the shade level before welding ensures you achieve the right balance between visibility and safety.
Reminder: Refer to the helmet’s manual for recommended shade levels for different welding tasks.
Using Your Auto-Darkening Welding Helmet
Positioning the Helmet for Maximum Protection
Positioning your auto-darkening welding helmet correctly ensures full protection for your face and eyes. Lower the helmet over your face so it completely covers your eyes, nose, and mouth. Make sure the helmet sits straight and doesn’t tilt to one side. Adjust the angle of the helmet to align with your line of sight. This helps you see your work clearly while staying protected from sparks and harmful light. Always double-check that no gaps exist between the helmet and your face to avoid exposure to dangerous light or debris.
Tip: Practice flipping the helmet down smoothly before welding to avoid disrupting your workflow.
Testing the Auto-Darkening Feature
Before you start welding, test the auto-darkening feature to ensure it works properly. Hold the helmet up to a bright light source, such as a flashlight or the sun, and observe if the lens darkens instantly. If the lens doesn’t react, check the sensors for dirt or damage. A functioning auto-darkening welding helmet will darken immediately when exposed to intense light, protecting your eyes from harmful rays. Testing this feature every time you use the helmet guarantees your safety.
Reminder: Replace the batteries if the auto-darkening feature fails during testing.
Adjusting Sensitivity and Delay Settings
Sensitivity and delay settings allow you to customize how your helmet reacts to light. Sensitivity controls how easily the lens darkens in response to light intensity. Use a higher sensitivity for low-amperage welding or environments with dim lighting. Delay settings determine how long the lens stays dark after the welding arc stops. A longer delay protects your eyes from lingering sparks, while a shorter delay helps you transition quickly between tasks. Experiment with these settings to find what works best for your welding style.
Note: Refer to your helmet’s manual for guidance on adjusting these settings for different welding conditions.
Maintaining Your Auto-Darkening Welding Helmet

Cleaning the Lens and Sensors
Keeping the lens and sensors clean ensures your auto-darkening welding helmet works effectively. Dust, dirt, or smudges can block the sensors, causing delayed reactions to light. Use a soft, lint-free cloth to wipe the lens gently. For stubborn spots, dampen the cloth with a small amount of lens cleaner or water. Avoid using harsh chemicals, as they can damage the lens coating. Inspect the sensors regularly and clean them with a cotton swab if needed. A clean helmet guarantees clear vision and reliable performance.
Tip: Clean your helmet after every welding session to prevent buildup.
Replacing Batteries and Lens Covers
Your helmet’s performance depends on functional batteries and lens covers. Check the battery indicator (if available) or test the auto-darkening feature to ensure the batteries are charged. Replace them immediately if the lens fails to darken. Always use the type of batteries recommended in the manual. Over time, the lens cover may become scratched or cloudy. Replace it promptly to maintain clear visibility. Regular replacements keep your helmet in top condition and extend its lifespan.
Reminder: Keep spare batteries and lens covers on hand for uninterrupted work.
Storing the Helmet Properly
Proper storage protects your helmet from damage. Store it in a cool, dry place away from direct sunlight. Excessive heat or moisture can harm the electronics and lens. Use a storage bag or case to shield the helmet from dust and accidental impacts. Avoid placing heavy objects on top of it, as this can deform the headgear. A well-stored helmet stays ready for use and lasts longer.
Note: Always turn off the helmet (if applicable) before storing it to conserve battery life.
Using your auto-darkening welding helmet becomes simple with the right approach. Set it up correctly, maintain it regularly, and use it properly to ensure safety. These steps extend its lifespan and improve performance. With this knowledge, you can weld confidently and focus on creating high-quality projects without distractions.
FAQ
What should you do if the auto-darkening feature stops working?
Replace the batteries and clean the sensors. If the issue persists, consult the user manual or contact the manufacturer for assistance.
Can you use an auto-darkening welding helmet for grinding?
Yes, many helmets have a “grind mode.” Activate this mode to prevent the lens from darkening while grinding. Check your helmet’s manual for specific instructions.
How often should you replace the lens cover?
Replace the lens cover when it becomes scratched, cloudy, or difficult to clean. Regular replacement ensures clear visibility and optimal performance during welding tasks.
Post time: Feb-04-2025

