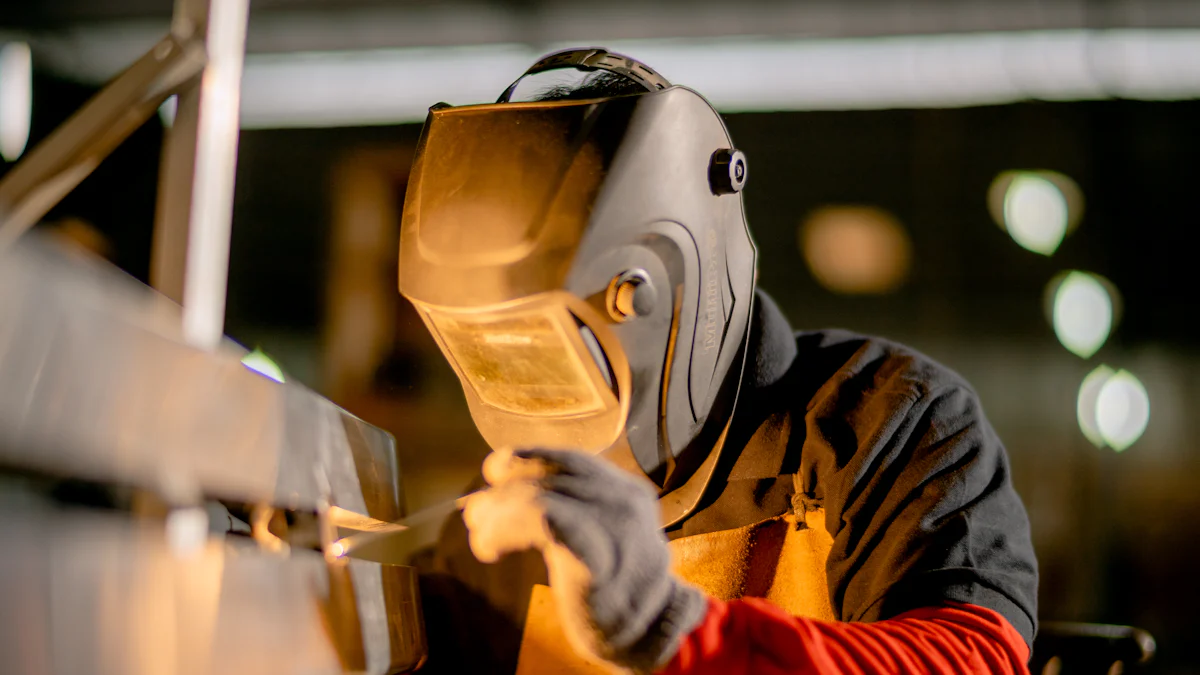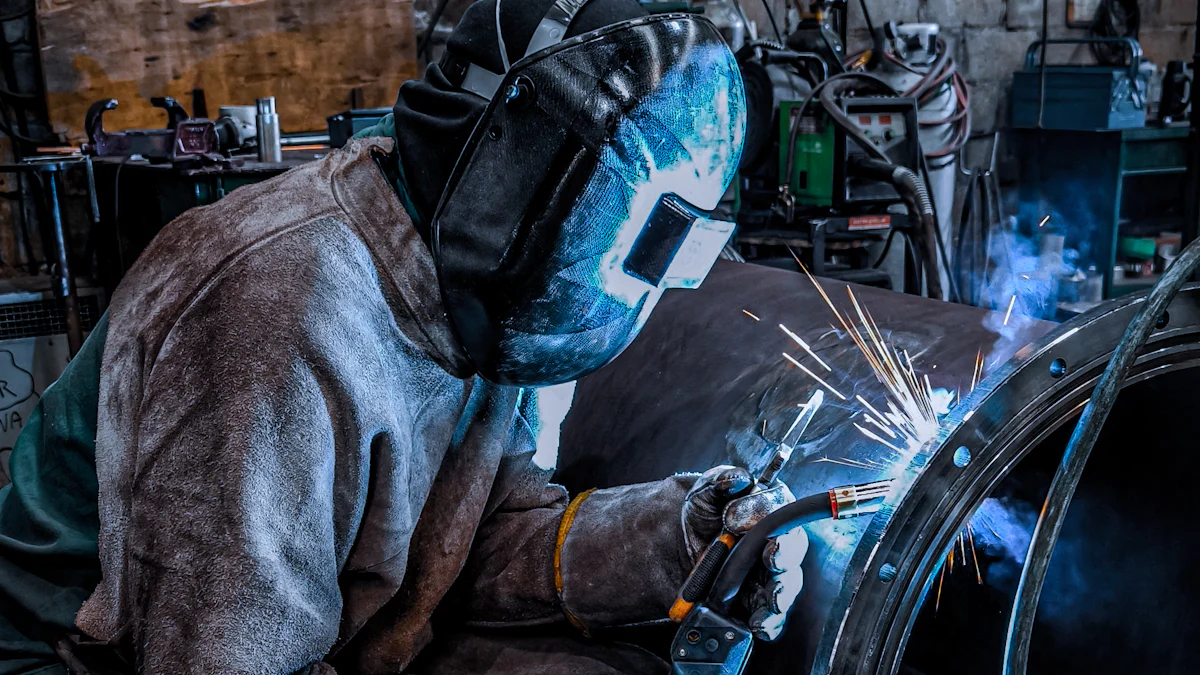
Welding requires precision and safety. An auto-darkening welding helmet protects your eyes and face while enhancing your efficiency. This advanced tool adjusts its lens shade automatically, shielding you from harmful light. To explore more about this essential gear, visit https://www.tynoweld.com/auto-darkening-welding-helmet/. Mastering its setup ensures comfort and optimal performance.
Key Takeaways
- Set your helmet’s sensitivity to fit your welding job. High sensitivity is good for low-power tasks like TIG welding. Low sensitivity works better for bright arcs in MIG or stick welding.
- Pick the correct shade level for your welding work. Shades from 9 to 13 are usual. Lower shades are for TIG welding, and higher shades are for MIG welding with more power.
- Clean and check your helmet often to keep it working well. Use a soft cloth to clean it. Replace cover plates when they look worn out.
Understanding Your Auto-Darkening Welding Helmet

Key Features and Technology
An auto-darkening welding helmet is a game-changer for welders. Its advanced lens technology automatically adjusts the shade level when it detects bright light from welding arcs. This feature protects your eyes from harmful ultraviolet (UV) and infrared (IR) radiation. You no longer need to flip the helmet up and down, which saves time and reduces neck strain.
The helmet uses sensors near the lens to detect light intensity. These sensors trigger the lens to darken within milliseconds. Most helmets allow you to adjust sensitivity, delay, and shade settings. This customization ensures the helmet works perfectly for different welding tasks, such as MIG, TIG, or stick welding.
Modern helmets often include solar-powered batteries or replaceable lithium batteries. Some models even feature grind modes, which let you use the helmet for grinding without activating the auto-darkening function. Understanding these features helps you get the most out of your helmet.
Components to Familiarize Yourself With
To use your auto-darkening welding helmet effectively, you need to know its key components. The lens is the most critical part. It includes the auto-darkening filter (ADF) and protective cover plates. These protect the lens from scratches and debris.
The headgear is another essential component. It includes adjustable straps and knobs to ensure a snug fit. Familiarize yourself with the control panel, usually located on the inside of the helmet. This panel lets you adjust settings like sensitivity and shade level.
Some helmets also have external controls for quick adjustments. Knowing these components ensures you can set up and use your helmet with ease.
Setting Up Your Auto-Darkening Welding Helmet
Adjusting Sensitivity
Sensitivity adjustment ensures your helmet reacts appropriately to the brightness of the welding arc. Locate the sensitivity control, usually found on the control panel inside your helmet. Turn the dial or press the buttons to increase or decrease sensitivity. Higher sensitivity works best for low-amperage welding, such as TIG welding, where the arc is less intense. Lower sensitivity is ideal for brighter arcs, like those in MIG or stick welding.
Test the settings by striking an arc in a safe environment. If the lens doesn’t darken immediately, increase the sensitivity. Avoid setting it too high, as this may cause the lens to darken unnecessarily from ambient light. Proper sensitivity adjustment ensures your auto-darkening welding helmet responds accurately to protect your eyes.
Setting the Delay
The delay setting controls how long the lens stays dark after the welding arc stops. A longer delay is useful for high-amperage welding, as it protects your eyes from lingering brightness. A shorter delay works well for quick, repetitive tasks.
Adjust the delay using the control panel. Start with a medium setting and test it during welding. If the lens clears too quickly, increase the delay. This adjustment prevents eye strain and ensures a smooth transition back to a clear view.
Choosing the Right Shade
Selecting the correct shade level is crucial for eye protection and visibility. Most helmets have a shade range from 9 to 13 for welding and a lighter shade for grinding. Check the welding process and amperage to determine the appropriate shade. For example, TIG welding at low amperage may require a shade 9, while MIG welding at higher amperage might need a shade 12.
Use the shade control to set the desired level. Test it by welding a small section and observing your comfort and visibility. Adjust as needed to balance protection and clarity. A properly chosen shade enhances your welding experience and keeps your eyes safe.
Wearing and Using the Helmet Correctly

Fitting and Positioning the Helmet
Proper fit ensures your auto-darkening welding helmet stays secure and comfortable during work. Start by adjusting the headgear. Use the rear knob to tighten or loosen the fit around your head. The helmet should sit snugly without causing discomfort. Adjust the top strap to position the helmet at the right height. This prevents it from slipping or sitting too low on your face.
Next, check the angle of the helmet. Most headgear includes a tilt adjustment. Set it so the helmet covers your face completely when lowered. This protects your eyes and skin from sparks and harmful light. Ensure the helmet flips down smoothly with a nod of your head. Test the fit by wearing it for a few minutes. If it feels heavy or unbalanced, make small adjustments until it feels right.
Tips for Safe and Effective Welding
Using your helmet correctly improves safety and welding quality. Always inspect the lens before starting. Look for scratches or dirt that could block your view. Clean the lens with a soft cloth if needed. Ensure the auto-darkening feature activates by testing it with a bright light source.
Position yourself so the helmet’s lens provides a clear view of the welding area. Avoid leaning too close to the arc. This reduces exposure to heat and sparks. Keep your helmet down while welding to maintain consistent protection. If your helmet has a grind mode, switch it off before welding to enable the auto-darkening function.
Practice these habits regularly. They help you stay safe and get the most out of your auto-darkening welding helmet.
Maintenance and Troubleshooting
Cleaning and Storing the Helmet
Proper maintenance keeps your auto-darkening welding helmet in excellent condition. Start by cleaning the lens regularly. Use a soft, lint-free cloth to wipe away dust and debris. Avoid abrasive materials that could scratch the surface. For stubborn dirt, dampen the cloth with a mild soap solution. Never use harsh chemicals, as they can damage the lens coating.
Inspect the protective cover plates frequently. Replace them if you notice scratches or cracks. These plates shield the lens from sparks and debris, so keeping them in good shape ensures clear visibility.
Store your helmet in a cool, dry place when not in use. Use a storage bag or case to protect it from dust and accidental damage. Avoid leaving it in direct sunlight or extreme temperatures, as these conditions can degrade the helmet’s materials. Proper cleaning and storage extend the life of your helmet and maintain its performance.
Addressing Common Issues
Even with proper care, you may encounter issues with your helmet. If the lens doesn’t darken, check the batteries. Replace them if necessary. For solar-powered models, ensure the helmet receives enough light to charge.
If the lens flickers or darkens unexpectedly, adjust the sensitivity settings. Test the helmet in a controlled environment to confirm the adjustments work. For visibility problems, inspect the lens and cover plates for dirt or damage. Clean or replace them as needed.
When the helmet feels uncomfortable, recheck the headgear adjustments. Tighten or loosen the straps to improve the fit. Addressing these common issues promptly ensures your auto-darkening welding helmet functions reliably during every project.
Mastering your auto-darkening welding helmet starts with proper setup and regular maintenance. Adjust the settings to suit your welding tasks and inspect the helmet before each use. Practice frequently to build confidence and improve your skills. By following these steps, you ensure safety and enhance your overall welding experience.
FAQ
What should you do if your helmet doesn’t darken?
Check the batteries first. Replace them if needed. For solar-powered helmets, ensure they receive enough light. Adjust sensitivity settings and test the helmet in a safe environment.
Can you use an auto-darkening helmet for grinding?
Yes, many helmets include a grind mode. Activate this mode to prevent the lens from darkening during grinding tasks. Always switch back to welding mode before starting any welding.
How often should you replace the protective cover plates?
Replace the cover plates when you notice scratches, cracks, or reduced visibility. Regular inspection ensures clear vision and protects the lens from damage caused by sparks or debris.
Post time: Jan-27-2025

